

#081 - Reducing Friction: The Minimal Notebook Project Tool
Automate Your Project Setup, Maintain a Consistent Environment and Streamline your Workflow

Most engineering analysis doesn’t need a cathedral of software tooling. Most of the time, you just need a clean, reliable workspace. When I need to run a calculation or explore a dataset, my primary goal is to get started with the least possible friction before I forget what I was going to do.

Over time, I found that the small, repetitive tasks of setting up a new project, creating a folder structure, initializing a Python environment, installing a kernel, were a consistent source of drag. To solve this, I built a small, cloneable utility that creates a new, Jupyter-ready project in seconds.
It’s not a revolutionary idea. It’s a script that enforces a durable, repeatable pattern. I use it daily, both for personal projects and professional work at Knight Piésold. This article details what it does, the thinking behind its design, and how you can adapt it for your own workflow.
It’s one of my most used tools.
What This Tool Does, Precisely
The repository provides a self-contained system for scaffolding a new project. Its function is focused on three outcomes:
Creates a Standard Structure. The tool uses a built-in Cookiecutter template to generate a minimal project skeleton: a
data/directory, asrc/directory, a blank starter notebook, and a projectREADME.md. The template itself lives inside the tool's repository, making the entire system portable and self-contained.MyProject/ | ├── .venv/ # Isolated Python environment created by 'uv init' ├── data/ # Directory for raw and processed data ├── src/ # Directory for Python source code and modules ├── notebook_01.ipynb # Blank starter Jupyter Notebook ├── pyproject.toml # Project metadata and dependencies └── README.md # Project description and notesInitializes a Local Environment. The script immediately runs
uv initwithin the new project folder, creating an isolated.venvdirectory. It then installsipykernel, ensuring the new project has a dedicated kernel for Jupyter or VS Code, completely separate from any global Python installation. This is fundamental for reproducibility and a common stumbling block for new Python users.Writes Your Project Metadata. The script programmatically updates the
pyproject.tomlfile with your project's name, description, and author. I deliberately use thepyproject.tomlstandard instead of a traditionalrequirements.txt. This approach provides a more durable and organized framework by consolidating both package dependencies and key project metadata into one file, which is easier to manage and aligns with modern Python development practices.
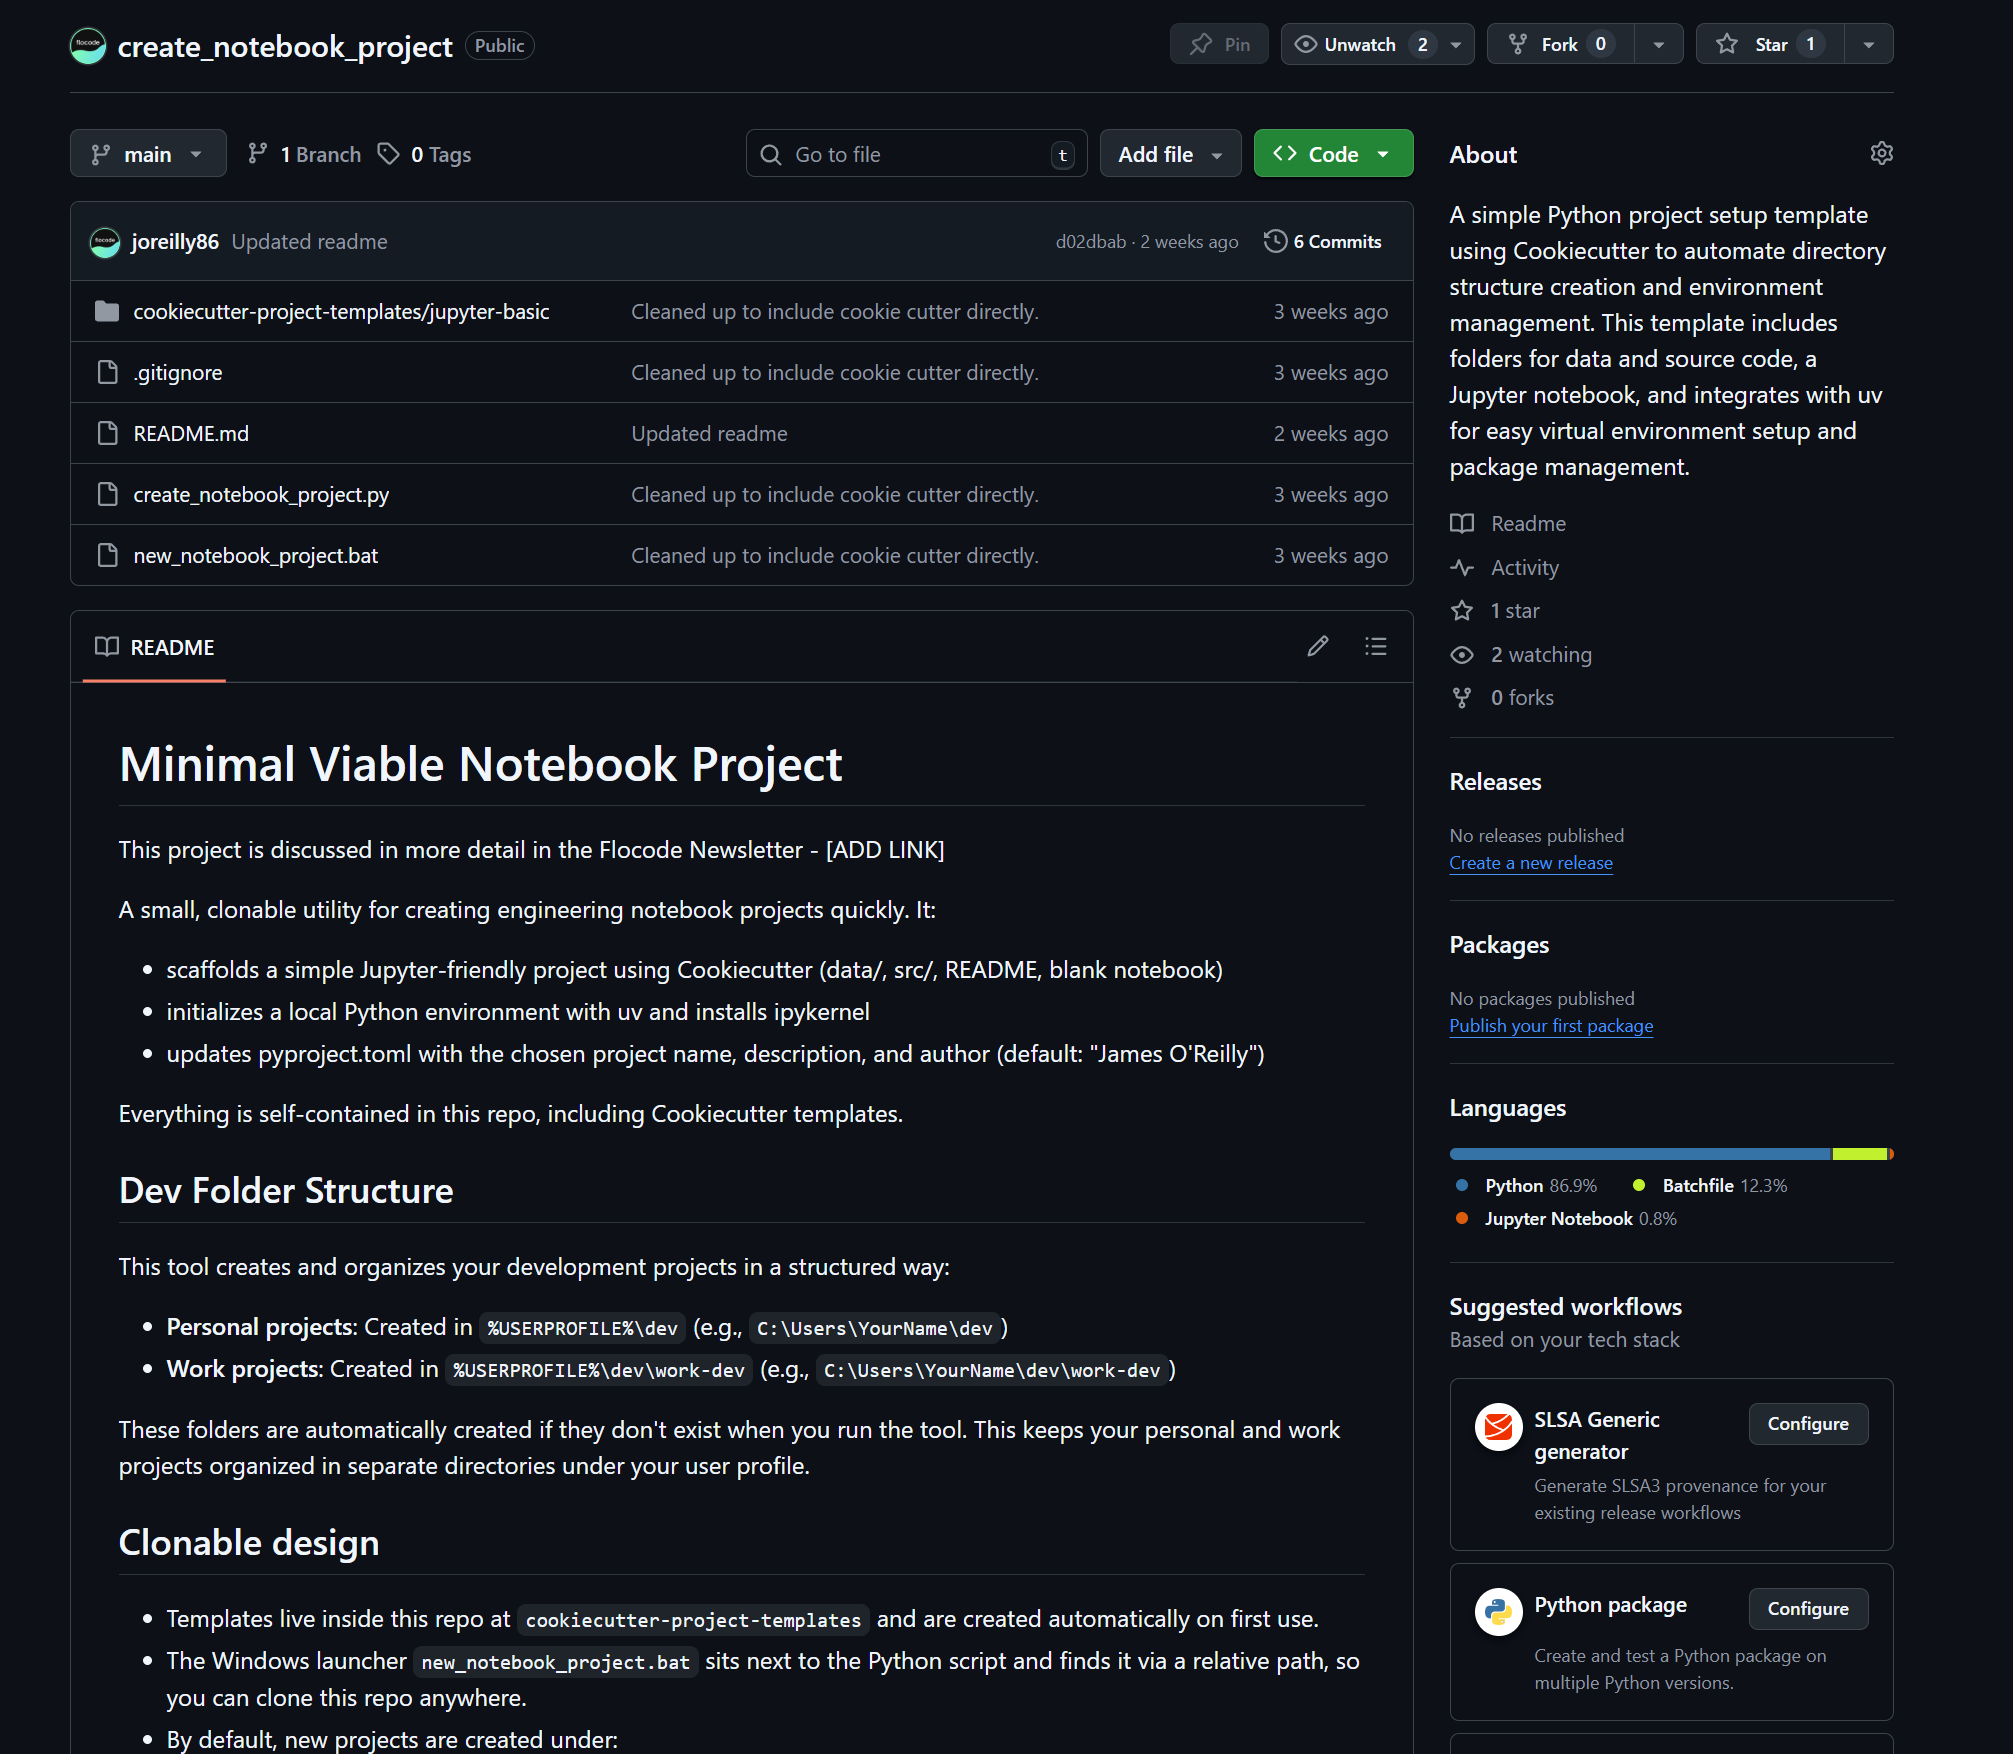
You can fork and modify the tool here: https://github.com/joreilly86/create_notebook_project
A Deliberately Simple Design
The objective is to reduce complexity and increase reliability. This is informed by previous frustrations where I experimented with heavier, more feature rich but ultimately brittle systems.
Cloneable and Portable: The most critical design choice was to embed the Cookiecutter template directly within the repository at
cookiecutter-project-templates/. If the template isn't found, the script creates it from a hardcoded dictionary. This means you can clone the repository onto any machine and it will work immediately, with no dependencies on external template registries or network access. A Windows batch file (new_notebook_project.bat) is included, which uses relative paths to find the Python script, enhancing this portability.Opinionated Folder Structure (And How to Change It): By default, the tool organizes projects into two distinct locations:
Personal Projects:
%USERPROFILE%\devIn my case, it’s ‘C:\Users\joreilly\dev’
Work Projects:
%USERPROFILE%\dev\work-devOr ‘C:\Users\joreilly\dev\kp-dev’
This is a workflow that suits my needs, separating personal explorations from my professional work. The script automatically creates these folders if they don’t exist. This is one of the first things you should adapt. You can change these paths directly in the
new_notebook_project.batfile or, for more robust control, modify thefind_dev_rootfunction in the Python script itself.Local Environments by Default: The script’s use of
uv initensures that every project's dependencies are isolated within its own.venvfolder. This prevents the "dependency hell" that plagues many Python users who rely on a single, global environment. When you open the project in an editor like VS Code, you simply select the interpreter located in the.venvdirectory to activate the correct environment. Most IDE’s will automatically recognize you have a local .venv in your project.
How to Use It
Getting started is straightforward. The prerequisites are Python 3.10+, uv, and cookiecutter. The README.md provides installation instructions for Windows.
Option A: The Windows Launcher (Recommended)
Double-click new_notebook_project.bat. You will be prompted to choose between a "Personal" or "Work" project, which determines the output directory. Then, enter your project's name and a short description. The script handles the rest.
Option B: The Python CLI
If you prefer the command line or are on macOS/Linux, you can call the script directly. From the repository's root directory, run:
PowerShell
py -3 .\create_notebook_project.py -n "MyNewProject" -d "A short description." -o "path/to/output/dir"The script accepts flags for
--name,--description,--author, and--output-dir. The default author is "James O'Reilly", so you will want to override this with the-aflag or by changing the default value inNotesbook_project.py.
The Mental Model
I think of this system in three layers:
Layer 1: The Tooling. This is the
Notesbook_projectrepository itself. It should be stable, version-controlled, and predictable. It is infrastructure.Layer 2: The Project. This is the generated output, the folder with its own
.venvand blank notebook. This layer is disposable. If a project gets messy, you can archive it and generate a fresh one in seconds.Layer 3: The Work. This is the finished product: the completed notebooks, scripts, plots, and data files that live inside the project. These are the valuable artifacts that solve the engineering problem.
This layered approach creates a clear boundary between the tool, the workspace, and the work. The goal is to spend your intellectual energy on Layer 3.
Final Thoughts: Build the Simplest System That Works
The objective of this tool is not novelty; it is the aggressive removal of friction. In a professional engineering context, the time between having a question and beginning the calculation is critical. A repeatable pattern that gets you to a clean workspace in seconds is a big deal in my book. These days I feel like ideas/thoughts are more fleeting than ever, the faster I can put digital ‘pen to paper’ the better for me.
The tool is intentionally minimal. It is not a project management system or a full-fledged data platform.
It is a specific instrument designed for a single purpose: to start.
I encourage you to clone it, read through the Python script, and adapt it. Change the default paths, modify the template, and encode your own standards.
That is how tools become your own.
See you the next one.
James 🌊